How to set up feature flags in Nuxt
Jan 23, 2024
Feature flags help you release features and conditionally show content. This tutorial shows you how integrate them in your Nuxt.js app using PostHog.
We'll create a basic Nuxt app, add PostHog, create a feature flag, and then implement the flag to control content in our app.
Create your Nuxt app
For this tutorial, we create a basic Nuxt 3 app. First, ensure Node.js is installed (version 18.0.0 or newer). Then run the following command:
Name it whatever you like (we call ours nuxt-feature-flags), select npm as the package manager, and use the defaults for the remaining options.
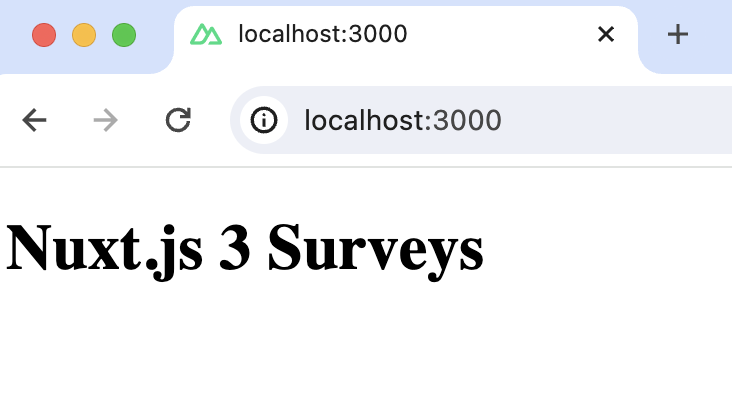
Replace the code in app.vue with a simple heading:
Run npm run dev to start your app.
Adding PostHog on the client side
This tutorial shows how to integrate PostHog with
Nuxt 3. If you're usingNuxt 2, see our Nuxt docs for how to integrate PostHog.
Since PostHog handles the management and evaluation of feature flags, we must set it up in our app. If you don't have a PostHog instance, you can sign up for free here.
Start by installing the posthog-js library to get access to the JavaScript Web SDK.
Then, add your PostHog API key and host to your nuxt.config.ts file. You can find your project API key in your PostHog project settings
Create a new plugin by creating a new folder called plugins in your base directory and then a new file posthog.client.js:
Add the following code to your posthog.client.js file:
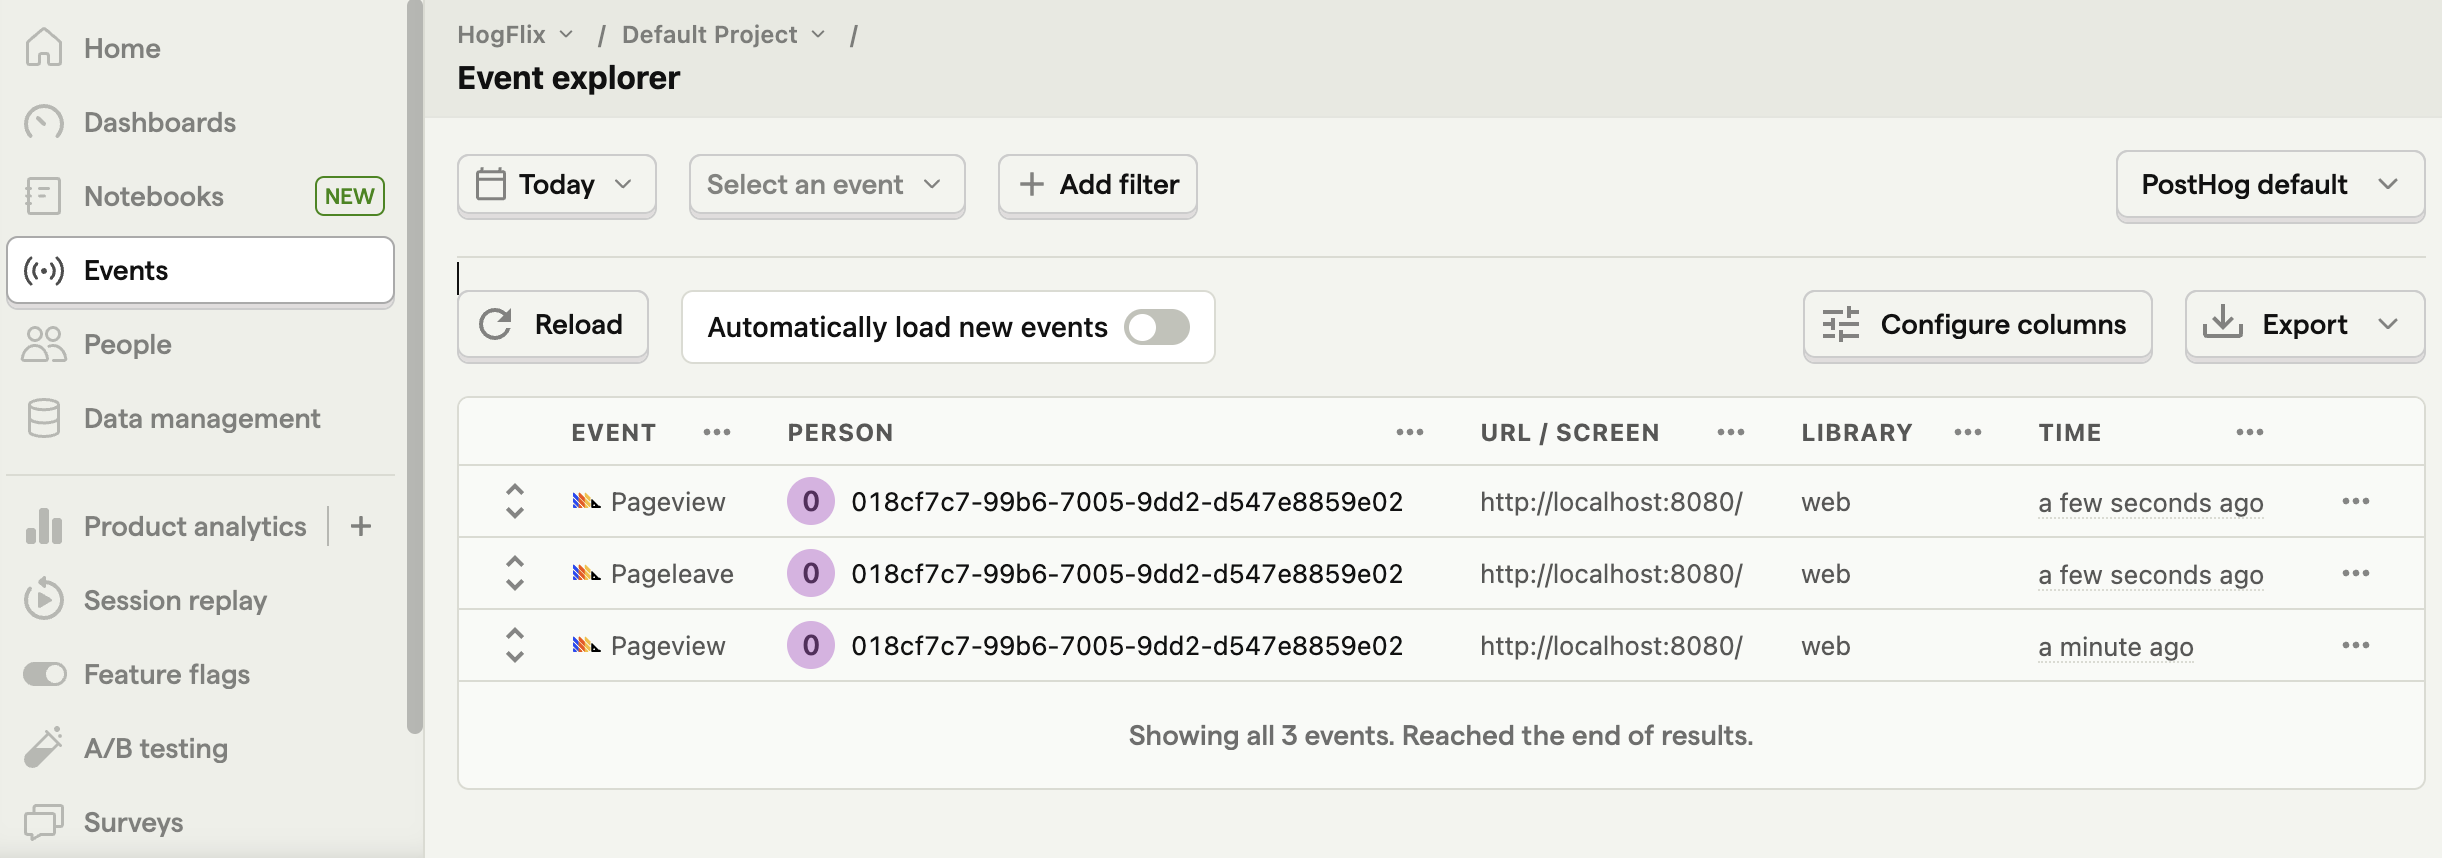
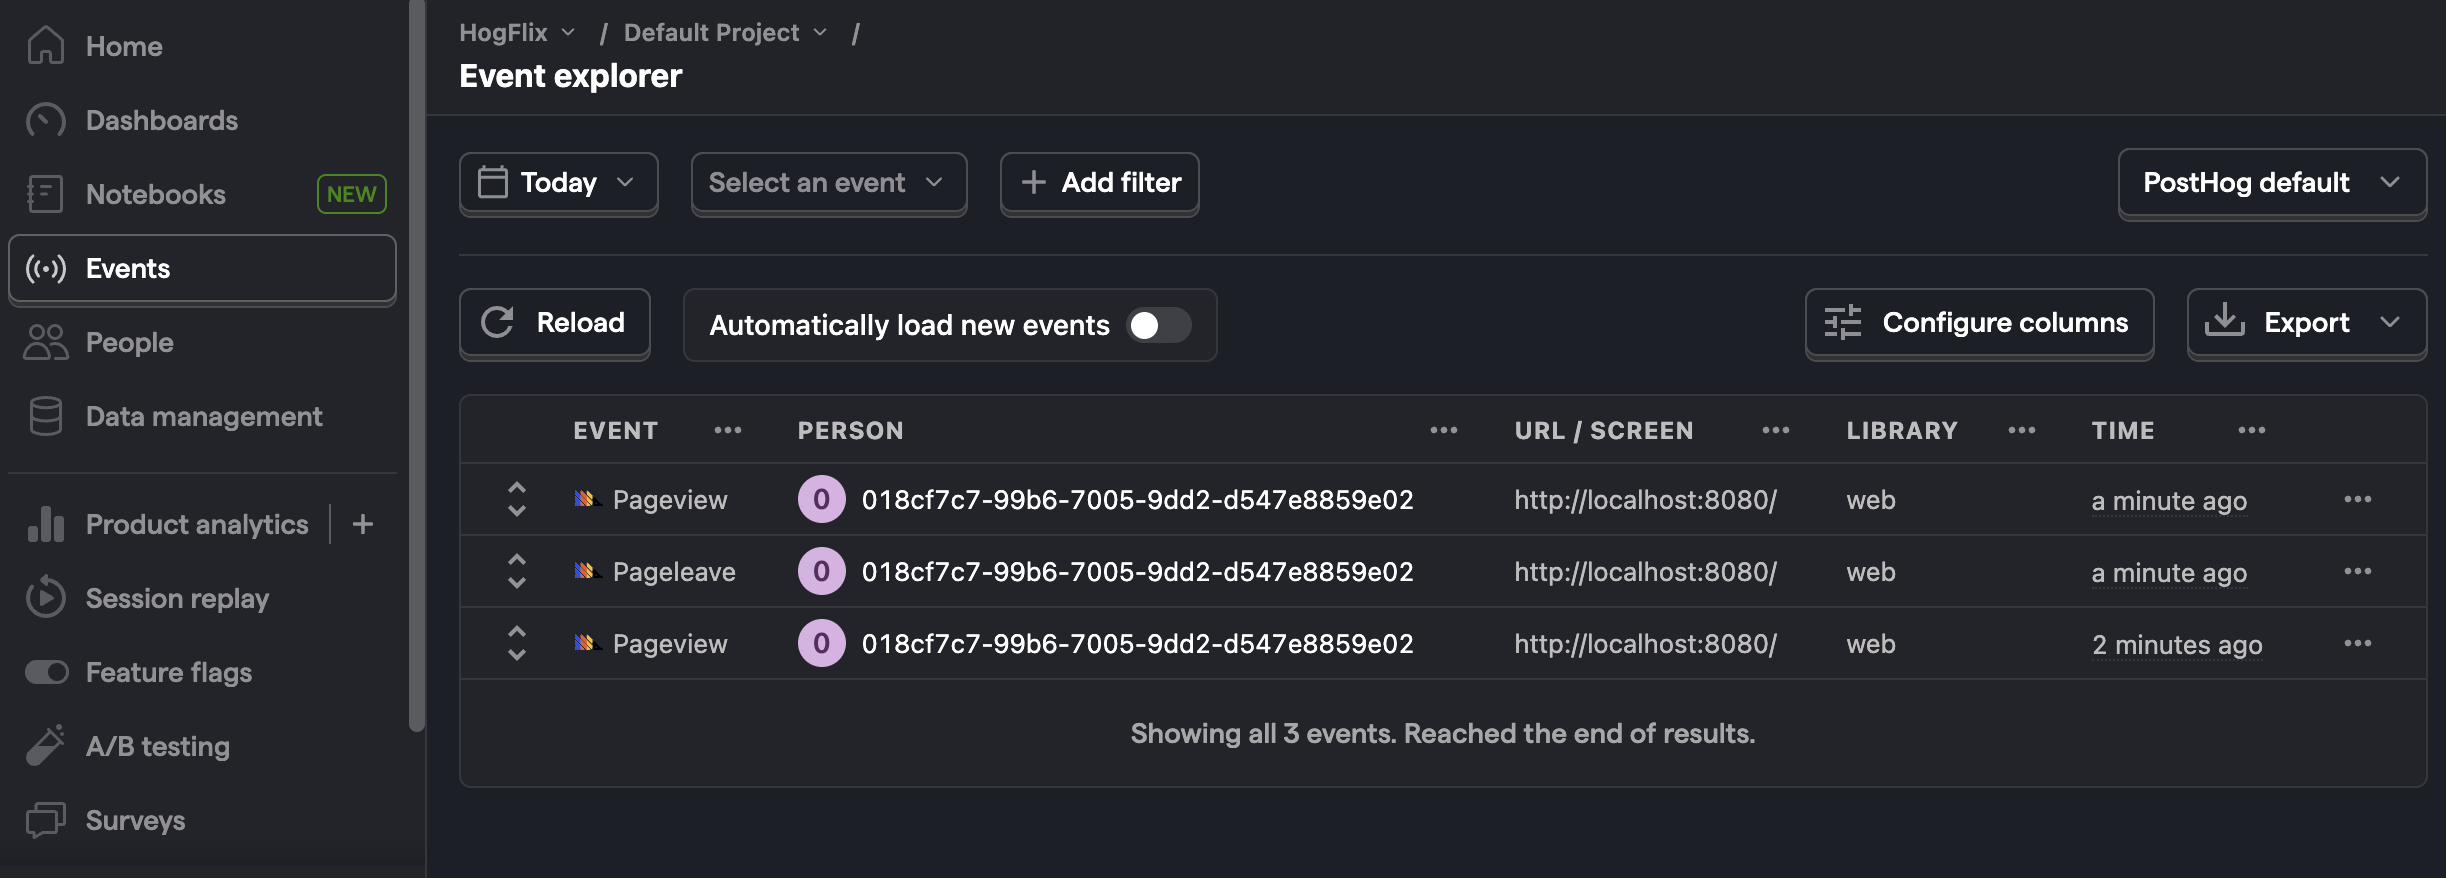
Once you’ve done this, reload your app. You should begin seeing events in the PostHog events explorer.
Creating a feature flag
With PostHog set up, your app is ready for feature flags. To create one, go to the feature flags tab in PostHog and click "New feature flag." Enter a flag key (like my-cool-flag), set the release condition to roll out to 100% of users, and press "Save."
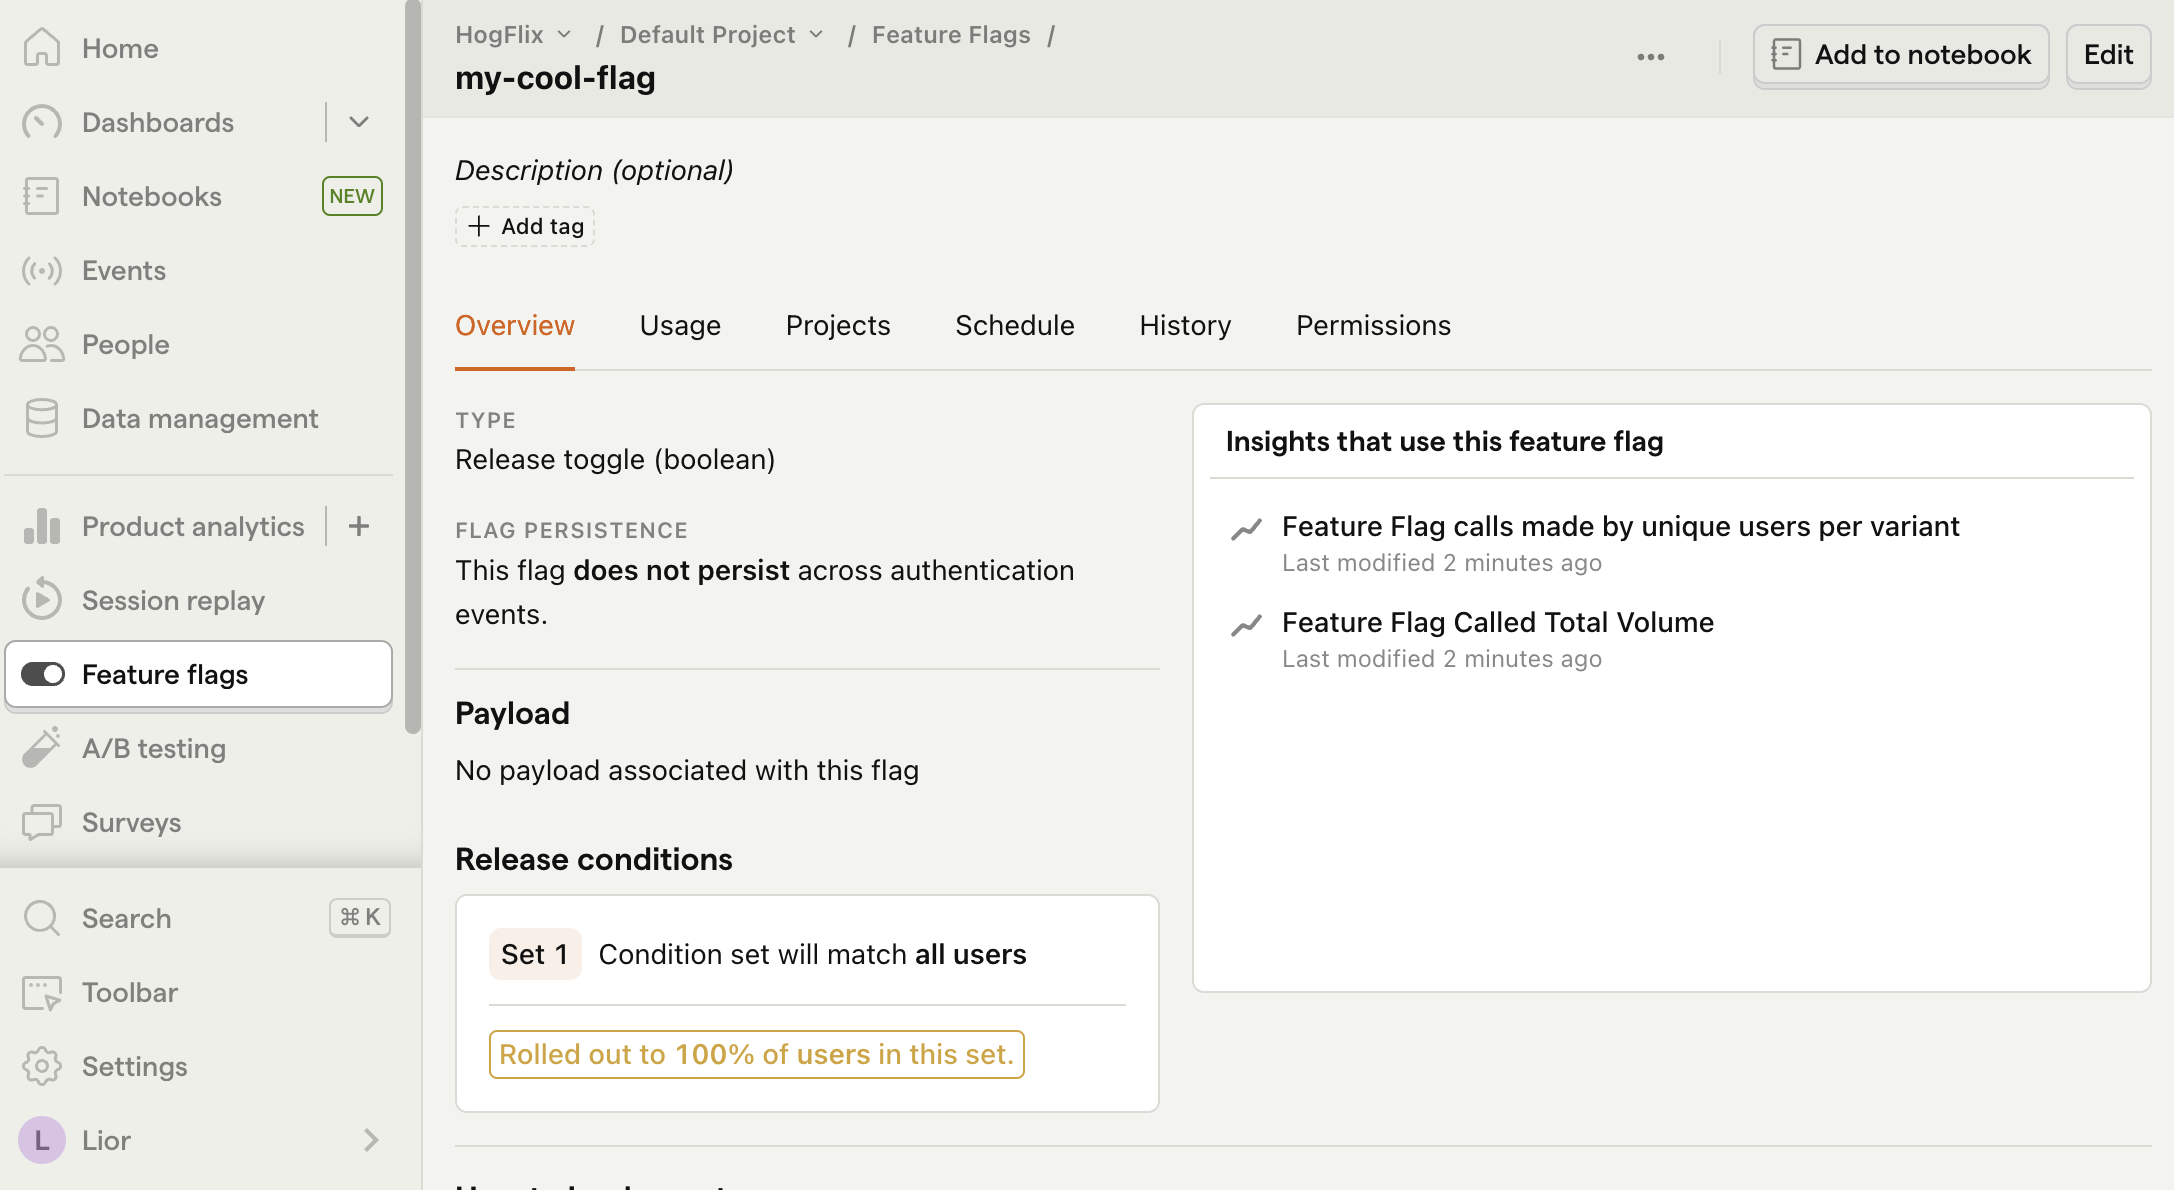
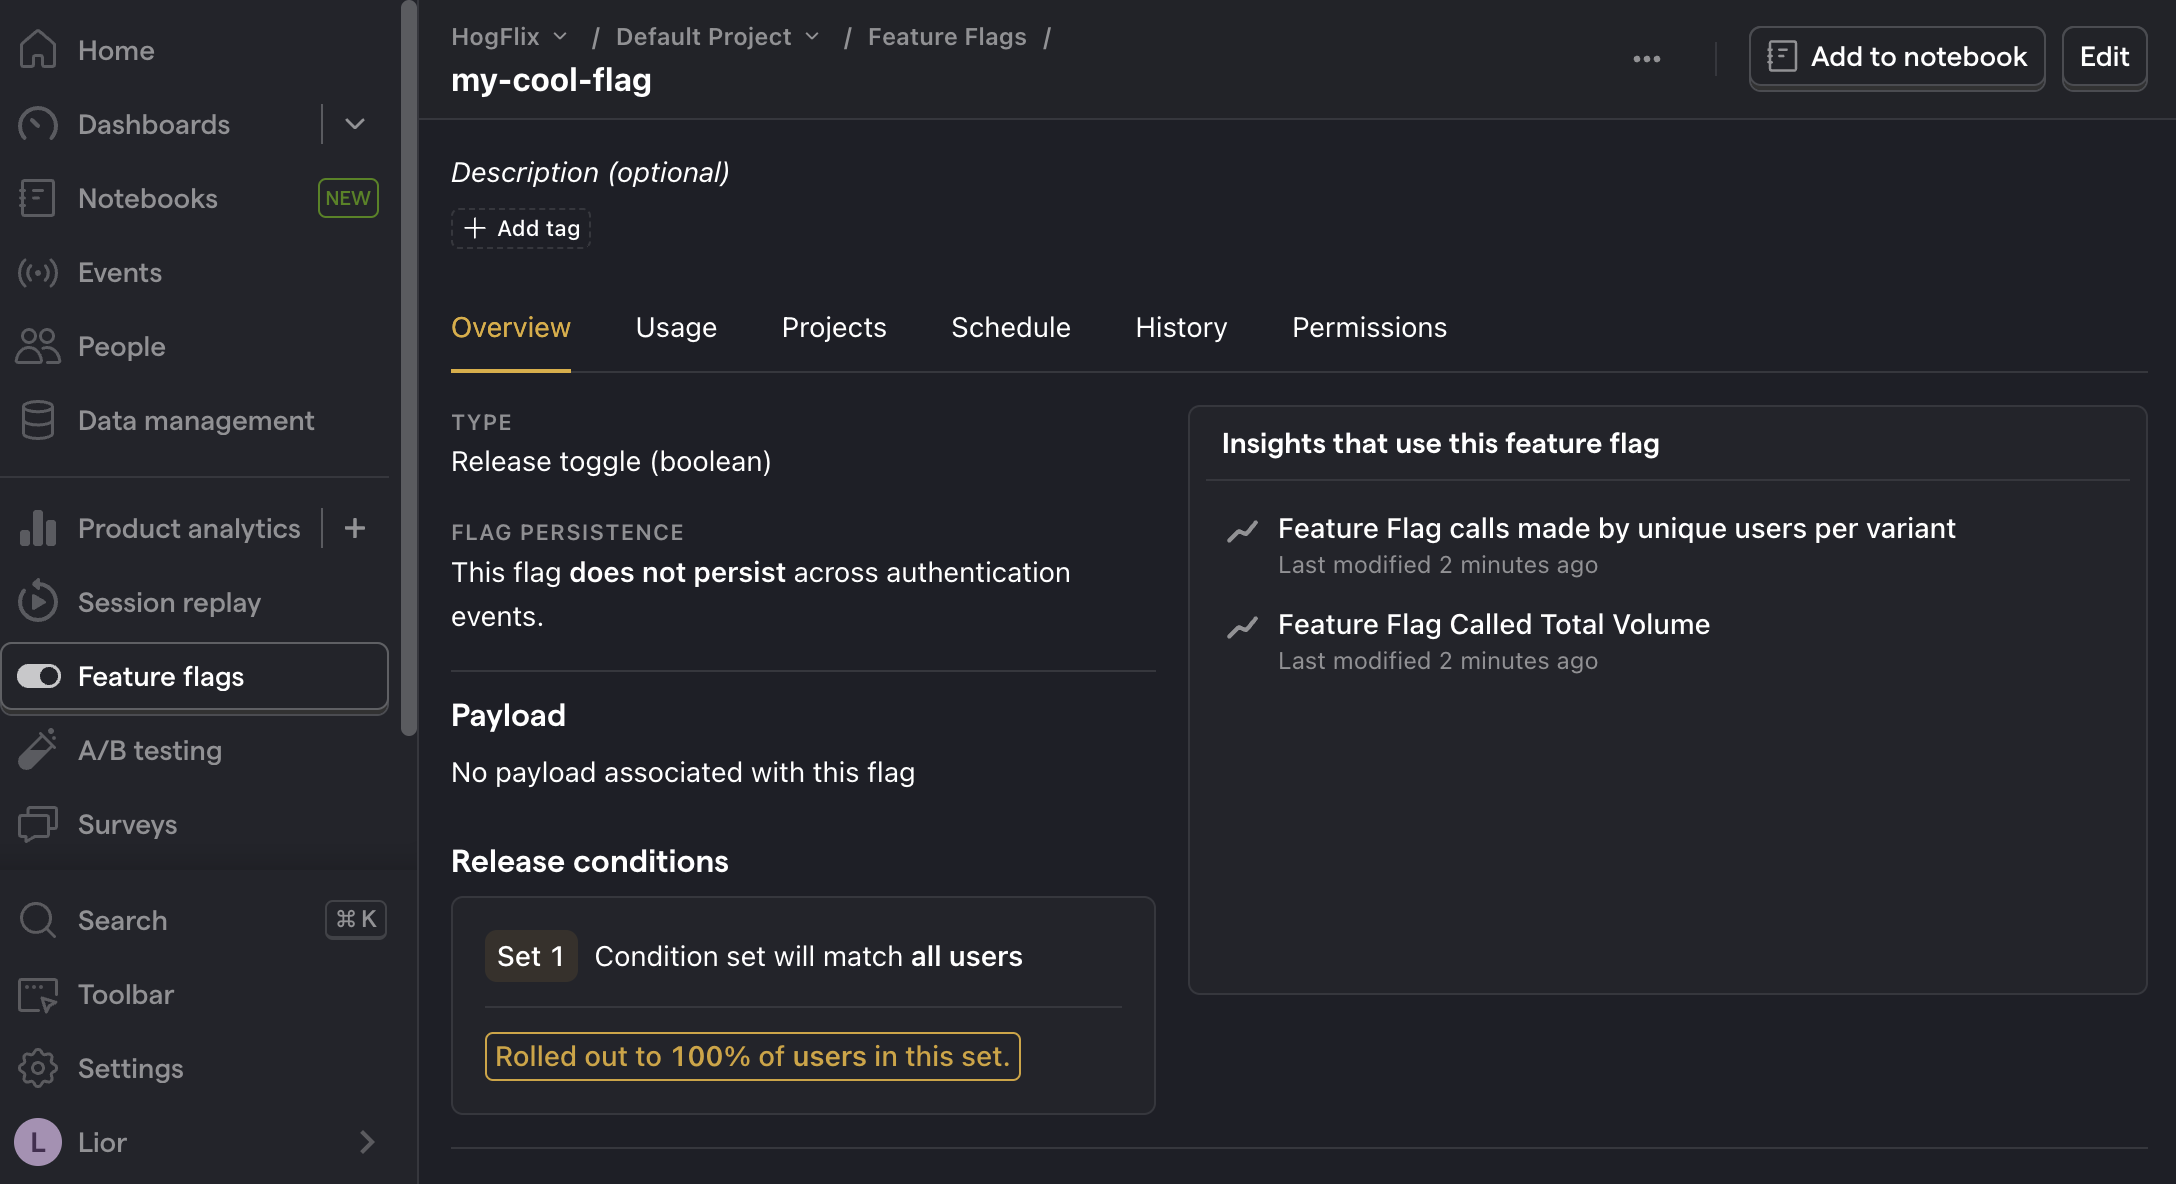
You can customize your release conditions with rollout percentages, and user or group properties to fit your needs.
Implementing flag code on the client side
Once created, we can add our feature flag to our app. We do this using the posthog.onFeatureFlags callback.
In our example, we fetch our feature flag and update the text on the page based on its value:
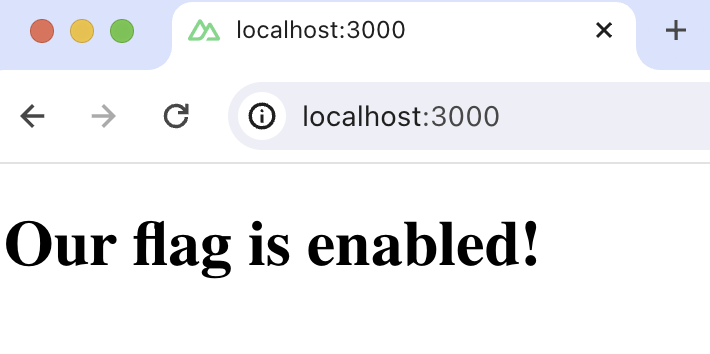
When you run your app now, you should see the updated text.
Implementing flag code on the server side
You may notice the text flickers when you load your app. This is because PostHog is making a request on the client side to fetch the flag value. There are two ways to prevent this:
- Fetch the flag on the server side.
- Bootstrap flags on the client side (not covered in this tutorial).
We'll show you how to fetch the flag on the server side. First, install the posthog-node SDK:
Then, we use the PostHog Node library to fetch the feature flag using useAsyncData. Replace the code in app.vue with the following:
Now when you reload your app, the flicker is gone.
Setting the correct distinctId
You may notice that we set distinctId = 'placeholder-user-id' in our flag call above. In production apps, to ensure you fetch the correct flag value for your user, distinctId should be set to their unique ID.
For logged-in users, you typically use their email as their distinctId. However, for logged-out users, you can use the distinct_id property from their PostHog cookie:
Further reading

Subscribe to our newsletter
Product for Engineers
Read by 25,000+ founders and builders.
We'll share your email with Substack
Questions? Ask Max AI.
It's easier than reading through 552 docs articles.
