How to create surveys in Bubble
Jan 09, 2024
Surveys are a great way to collect feedback from your users. This tutorial shows you how to create surveys for your Bubble app or marketing site using PostHog.
1. Add PostHog to your Bubble site
First, sign up to PostHog. Then, go to your project settings and copy your web snippet. It looks like this:
With the snippet copied, go to your Bubble site settings by clicking on the icon in the left-hand menu. If you haven’t already, sign up for at least the "Starter" site plan. This enables you to add custom code.
Go to the SEO / metatags tab in site settings. Paste your PostHog snippet in the Script/meta tags in header section. Then, deploy your site to live.
2. Create and launch your survey
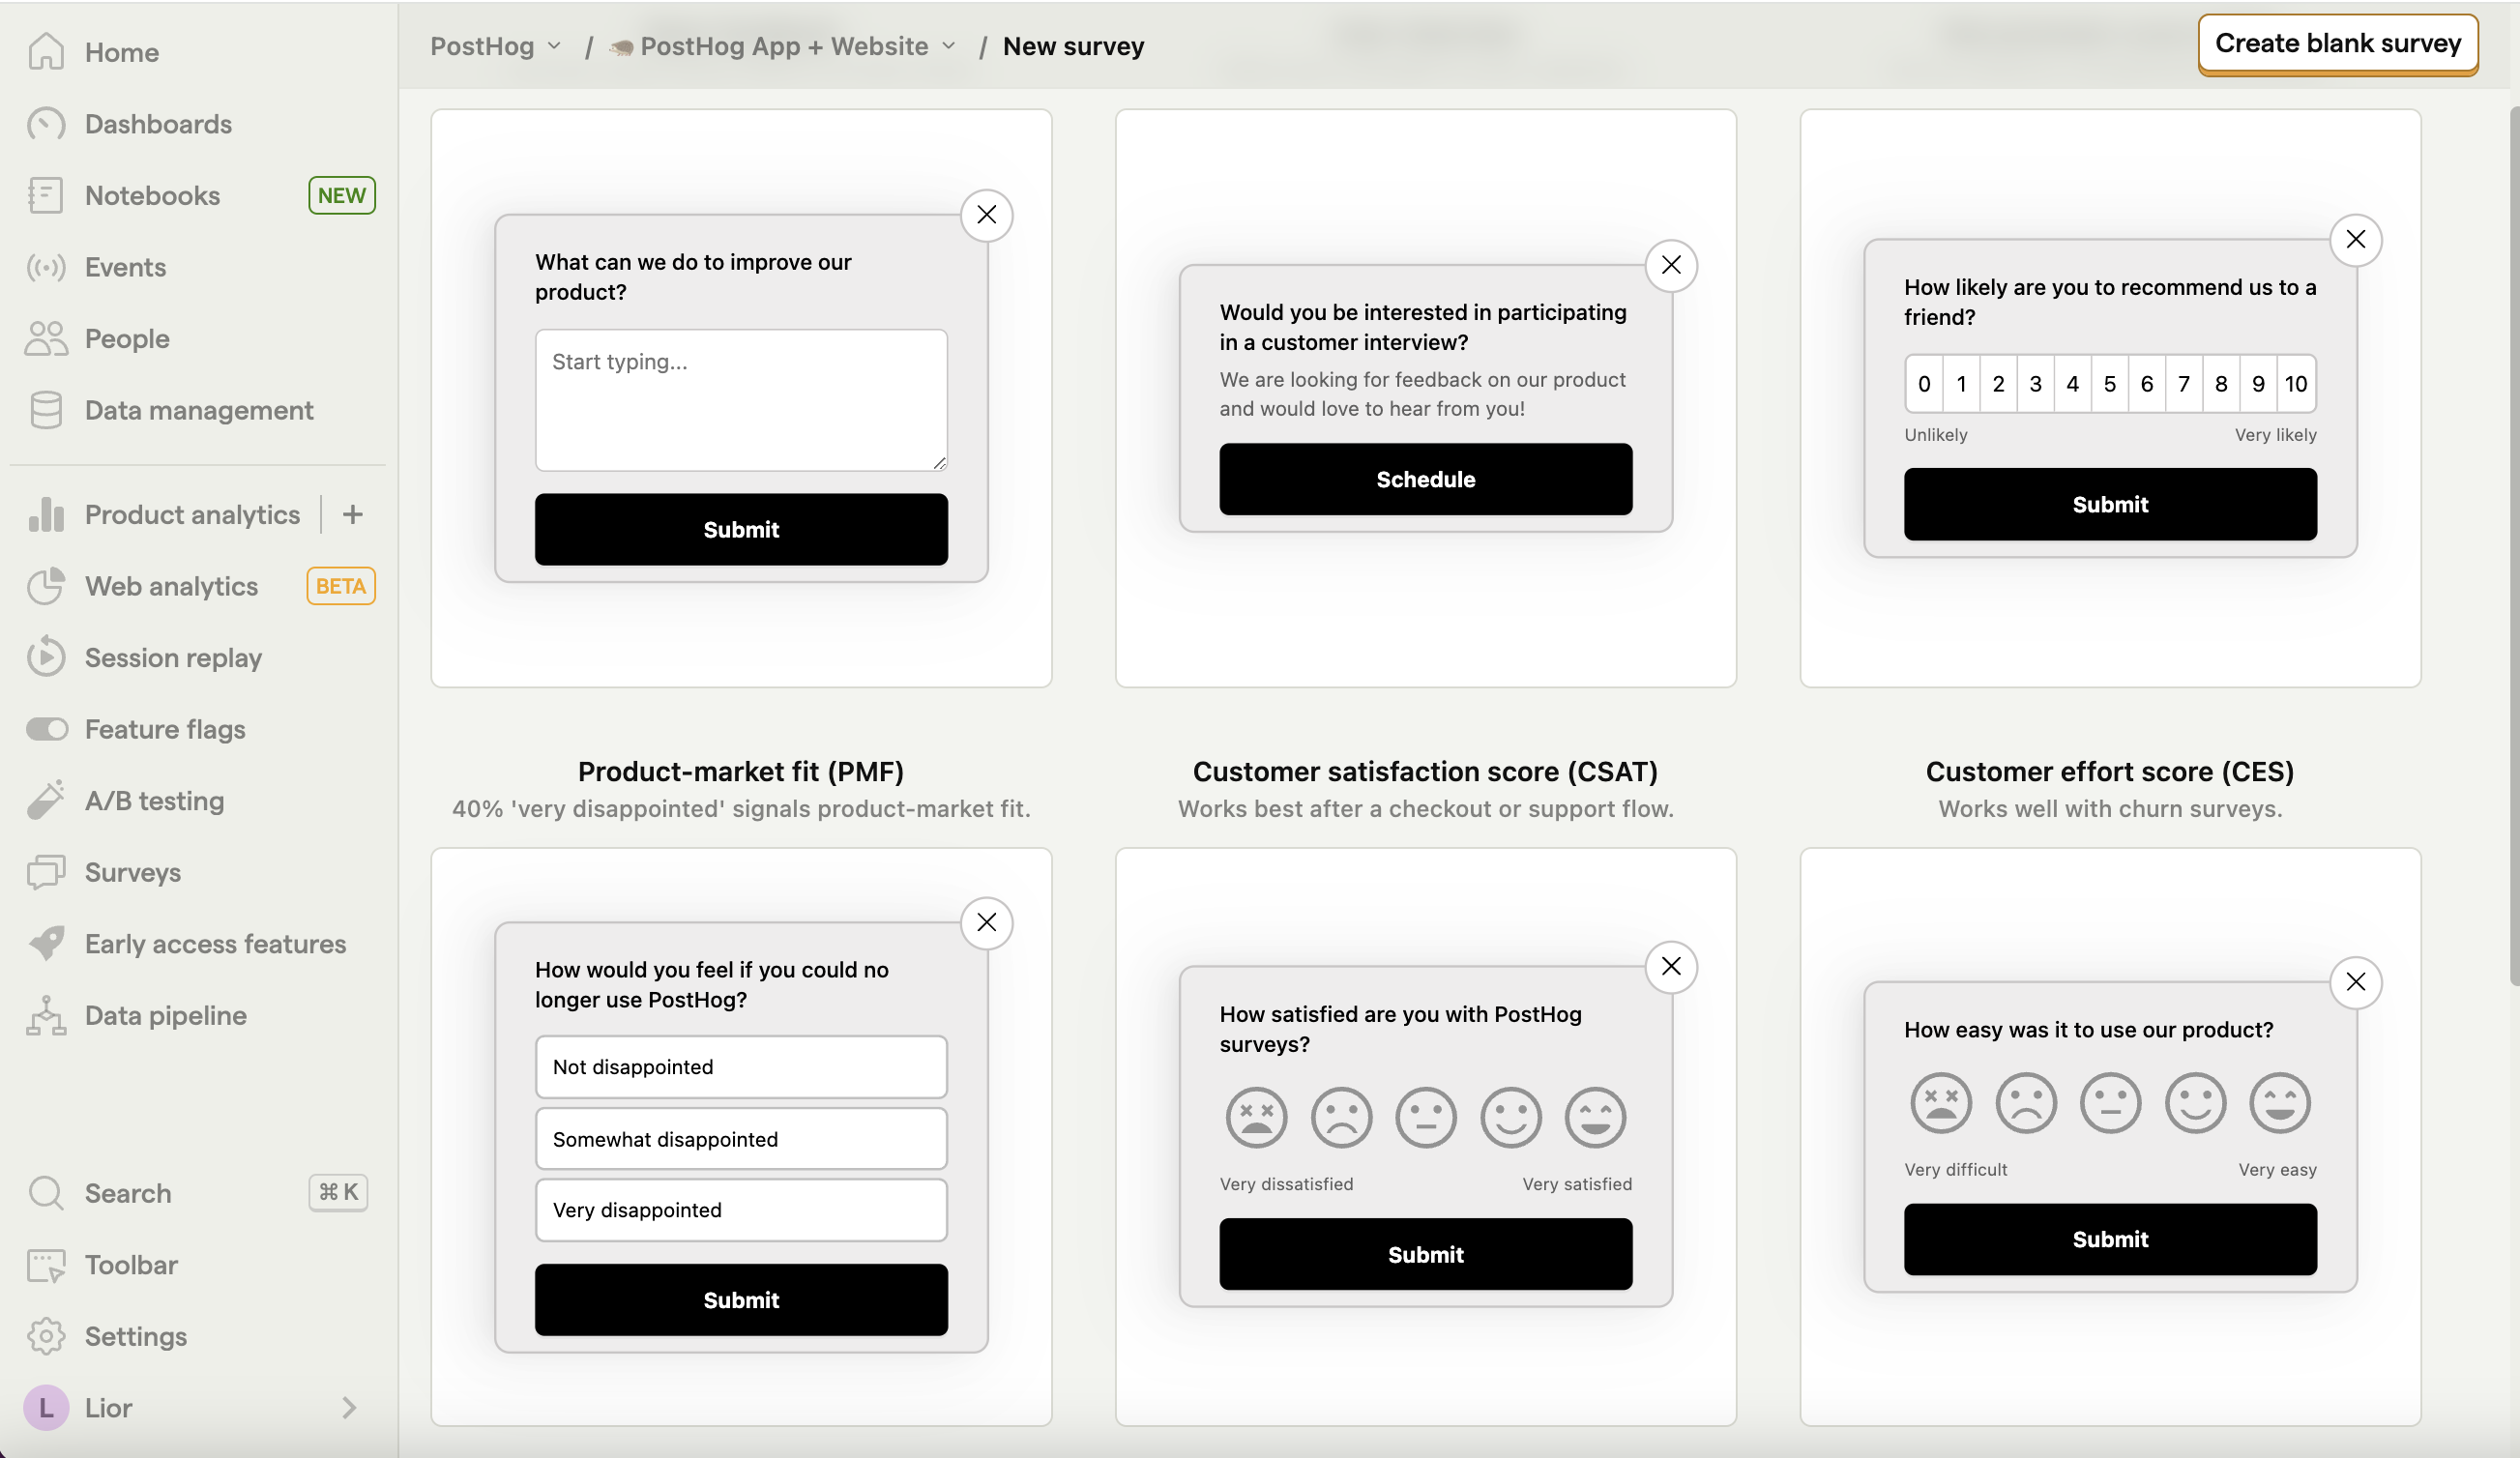
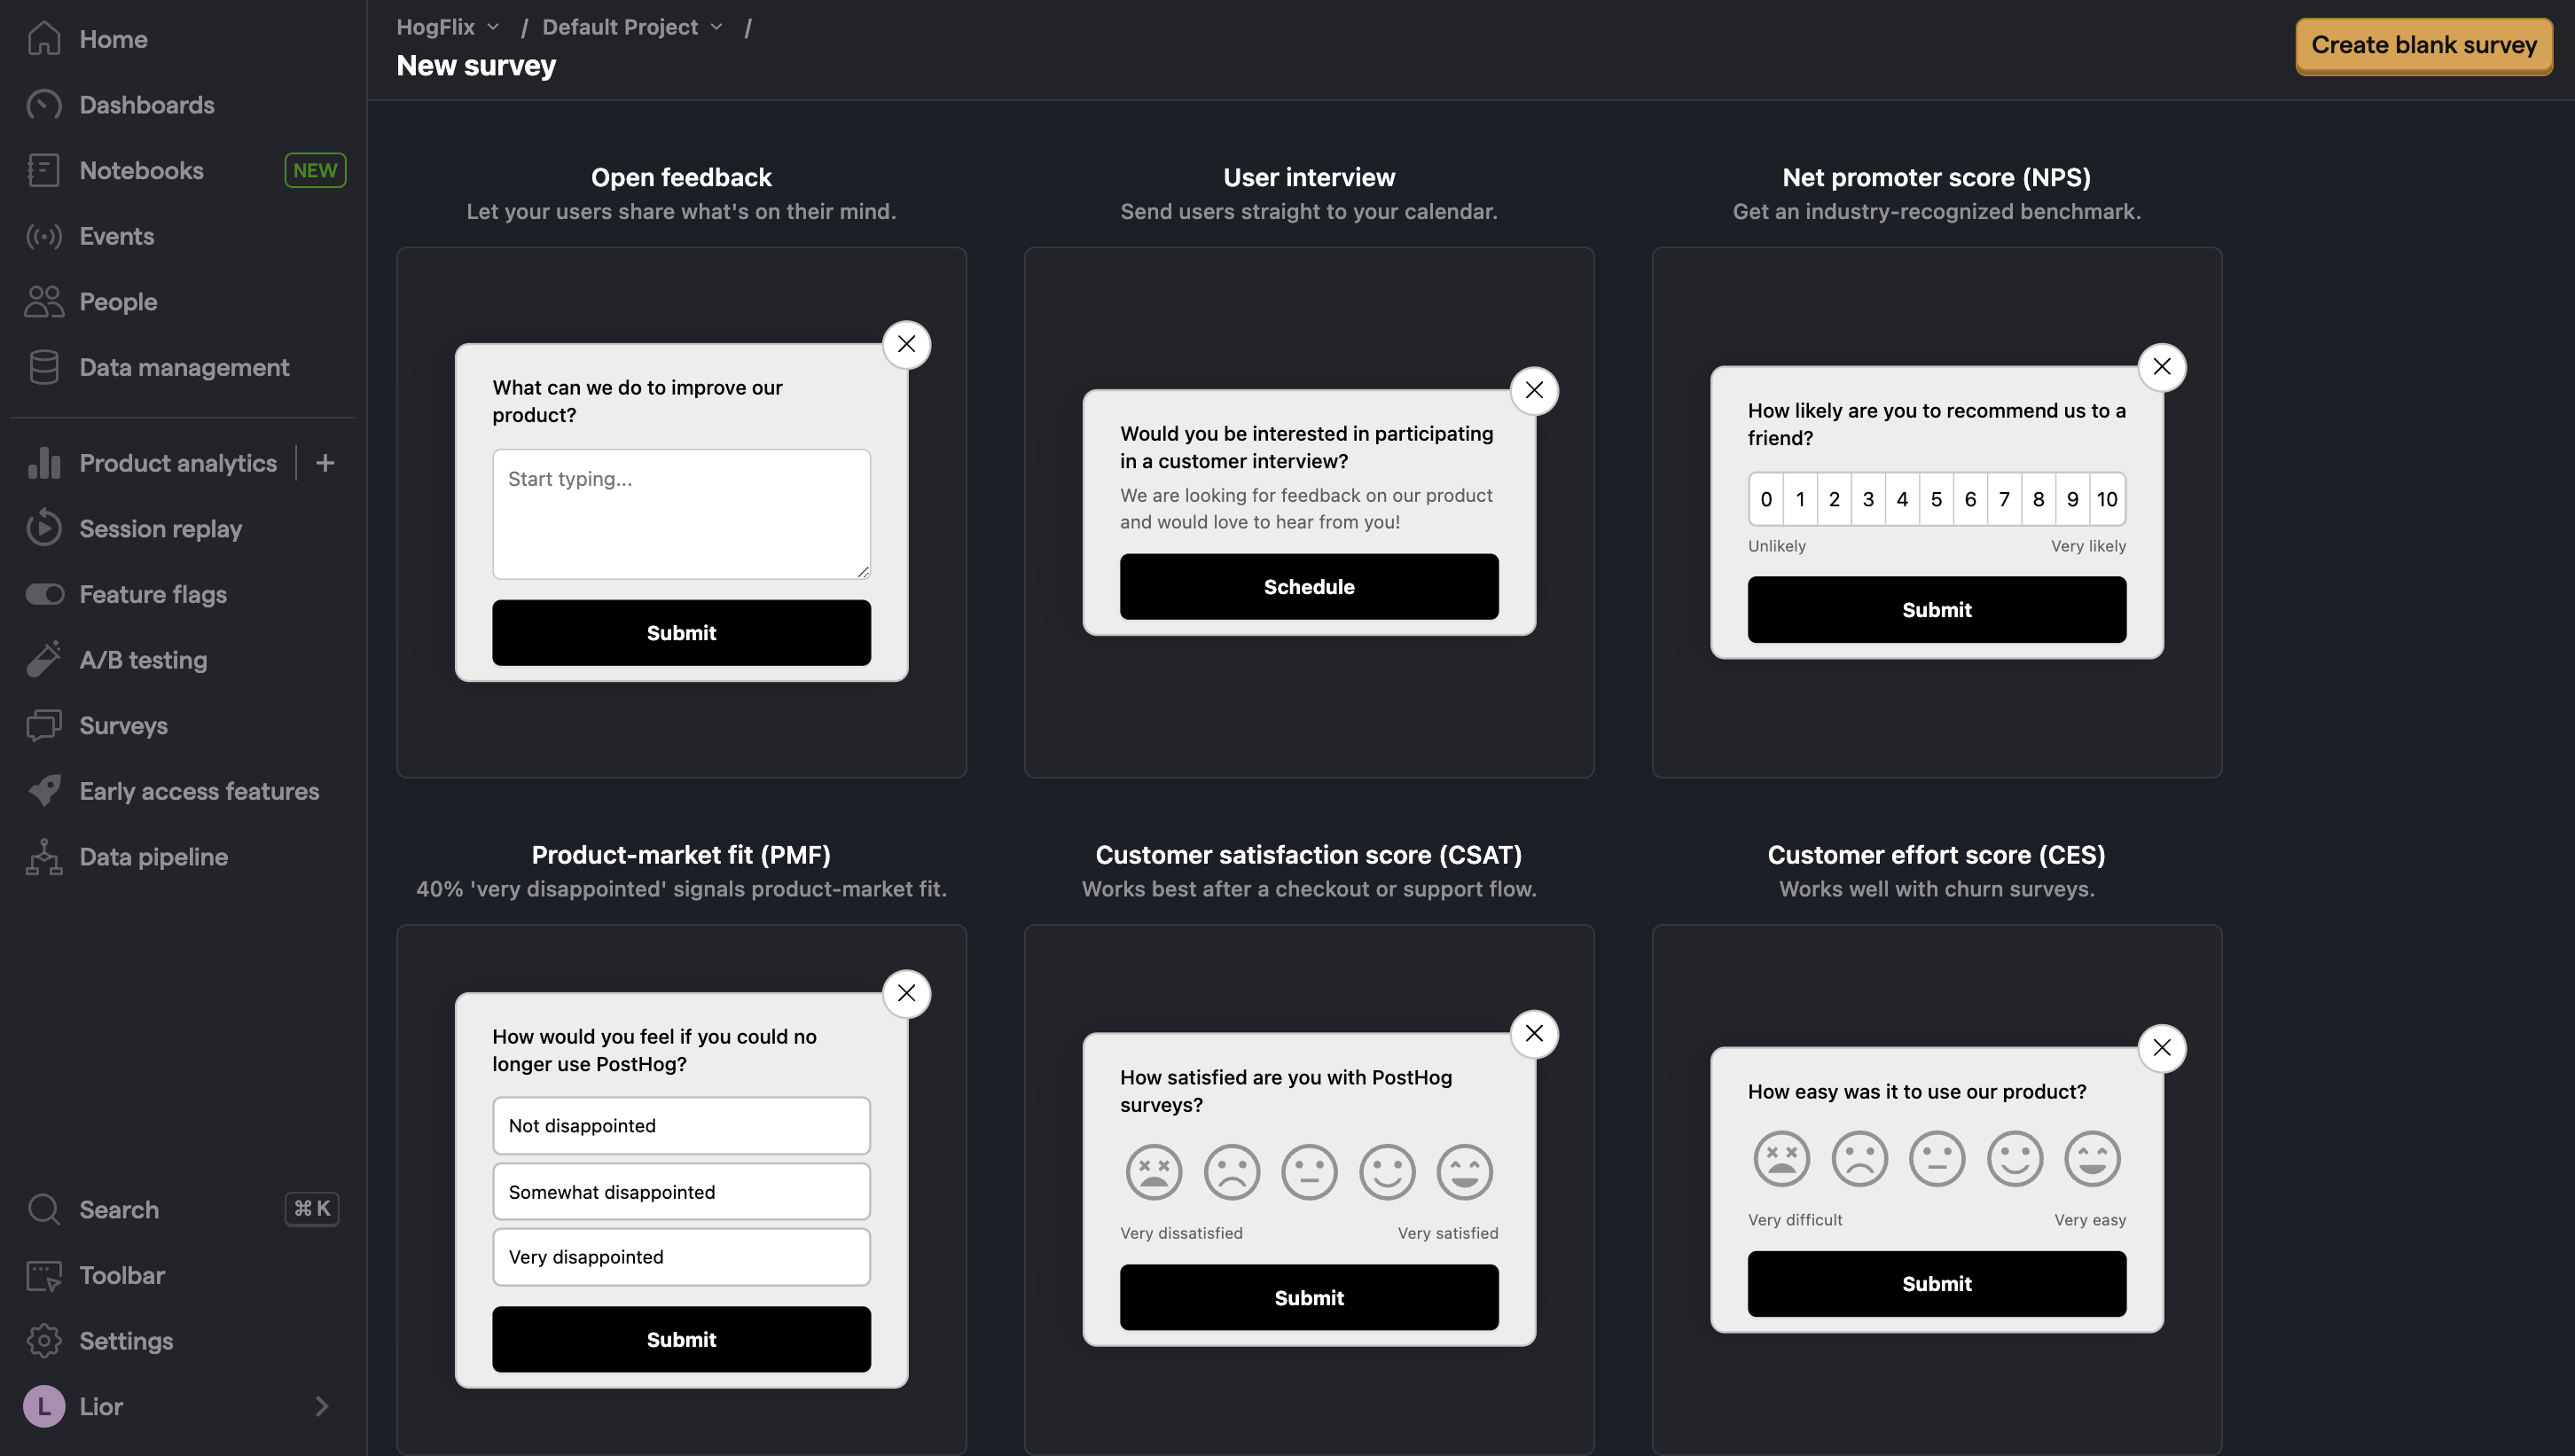
Create a survey in PostHog by going to the surveys tab and clicking "New survey." There are a variety of survey templates to choose from, or you can create your own by clicking "Create blank survey".


Next, you can customize the questions, branding, and targeting as needed. See our survey docs for more details on how to do so.
Then, click "Save as draft" and then "Launch". Your survey is now live and you should see it on your website!
3. View results
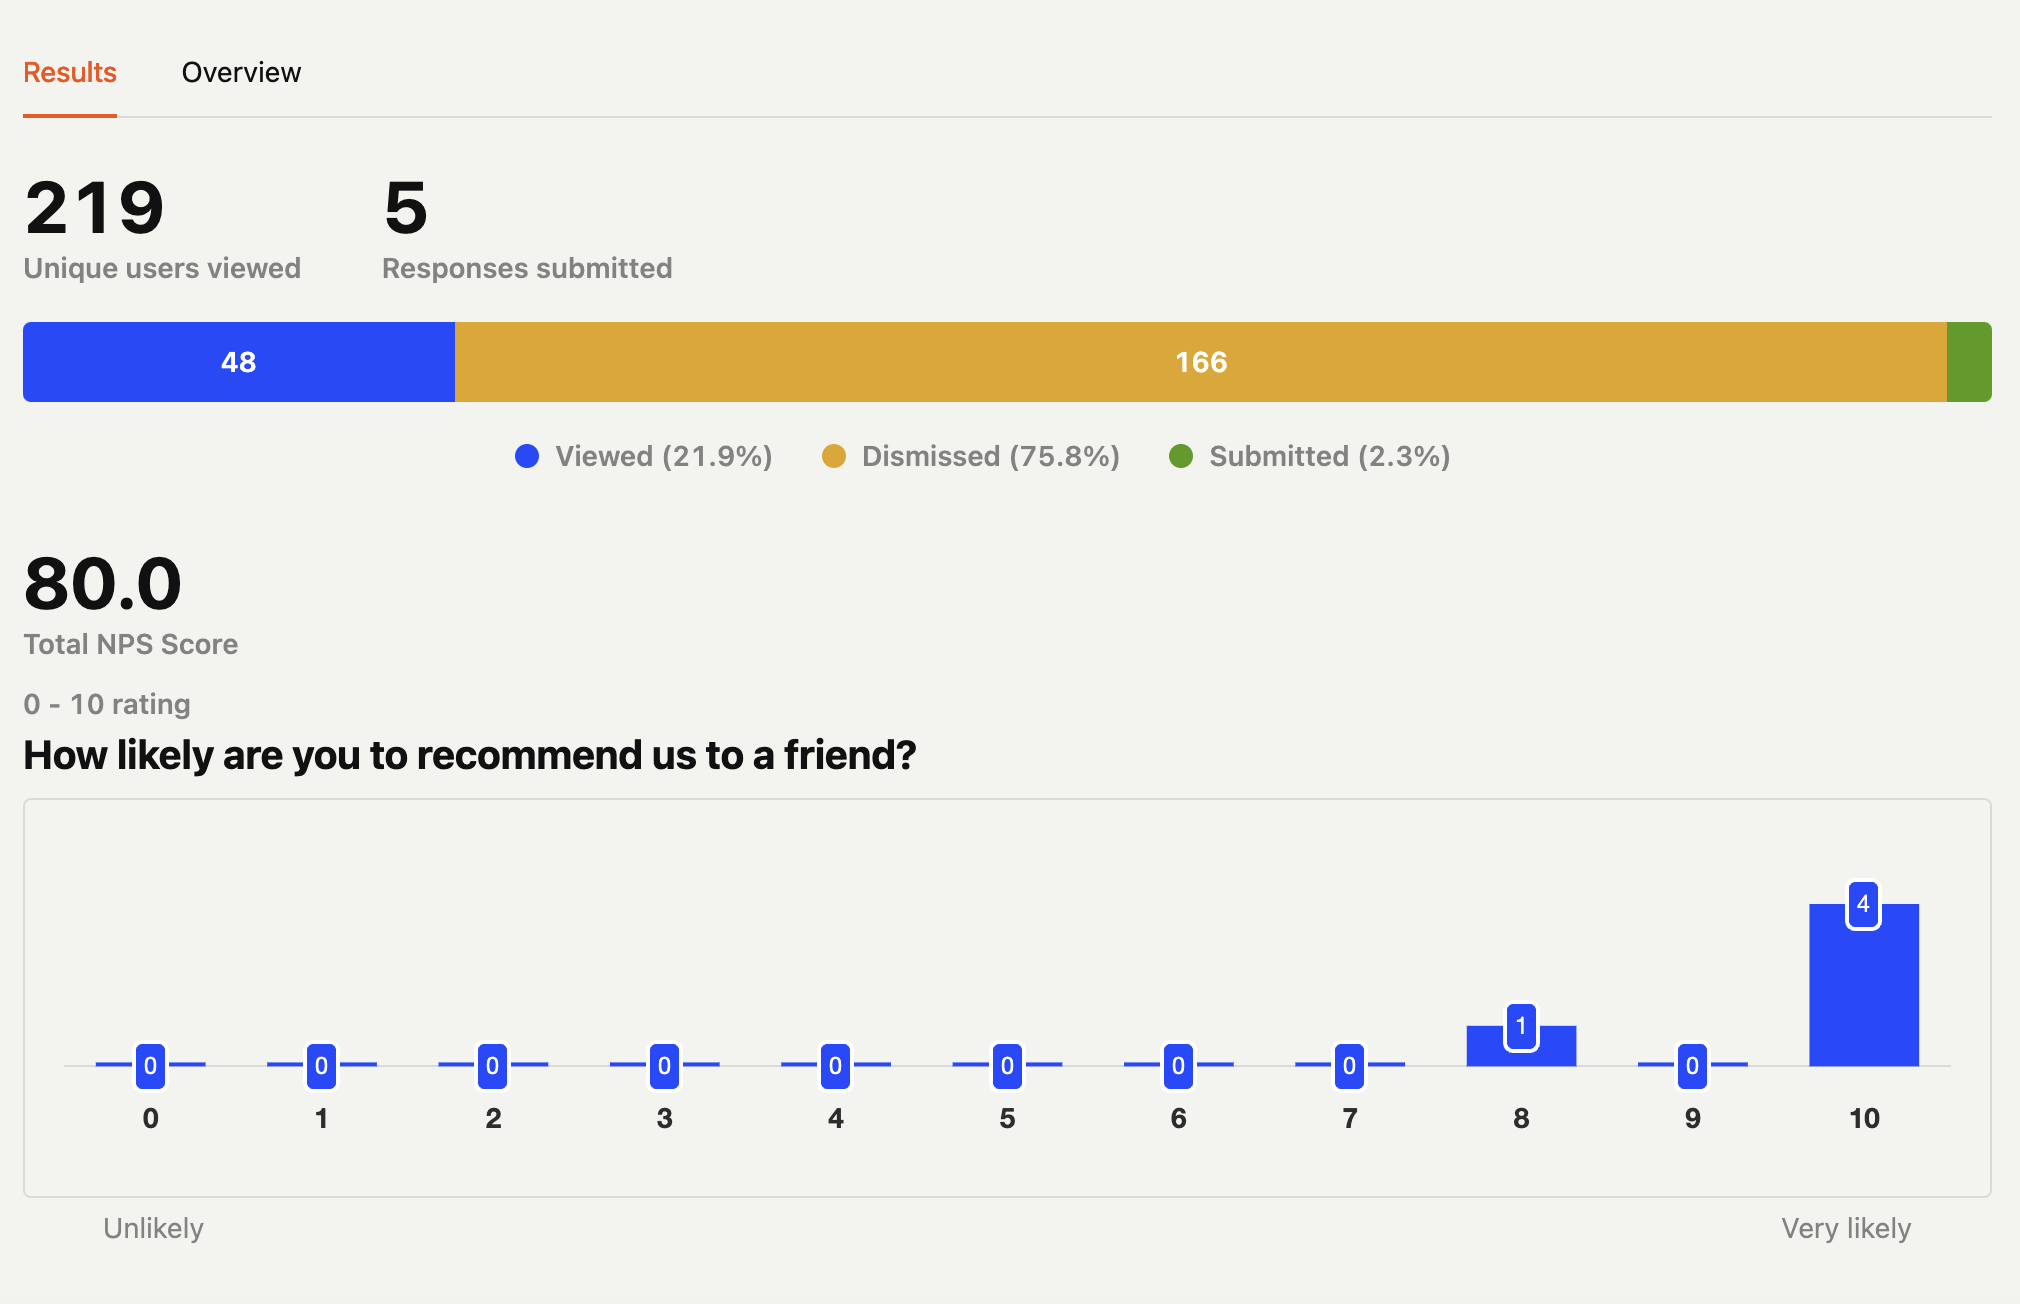
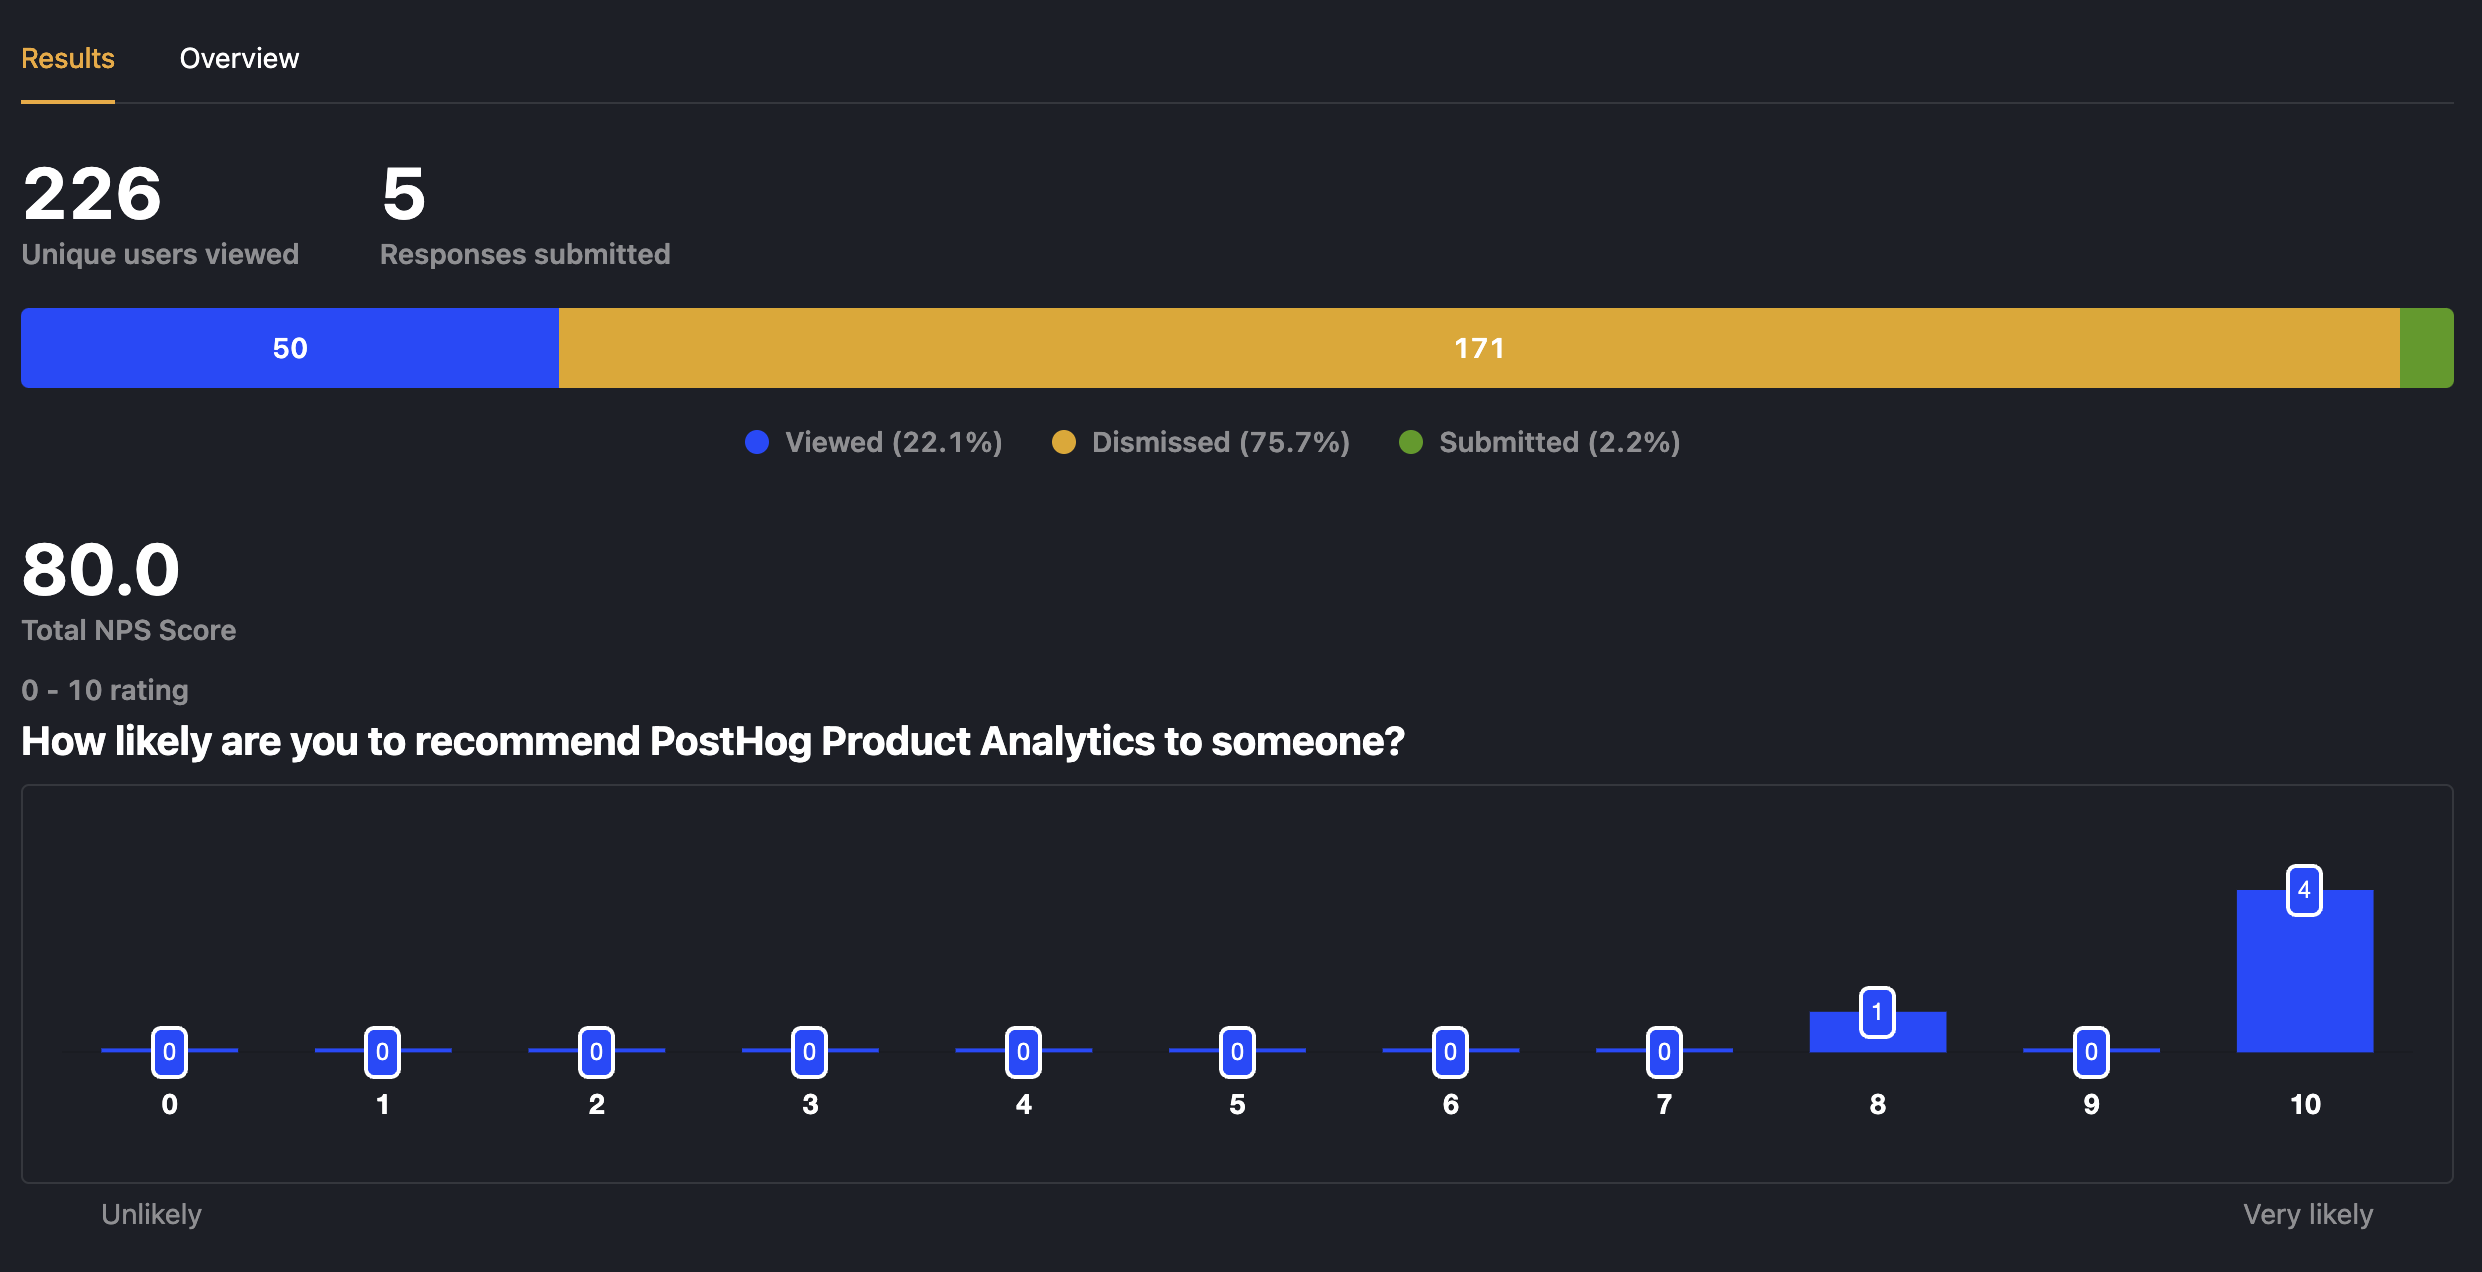
After launching your survey and having users interact with it, you can view results by selecting the survey from the surveys tab. You'll see data on:
- How many users have seen the survey.
- How many users have dismissed the survey.
- Responses.
If you capture identified events, you can also filter these results based on person properties, cohorts, feature flags and more.


Further reading
- How to set up Bubble analytics, session replays, and more
- How to run A/B tests in Bubble
- How to analyze surveys with ChatGPT

Subscribe to our newsletter
Product for Engineers
Read by 25,000+ founders and builders.
We'll share your email with Substack
Questions? Ask Max AI.
It's easier than reading through 552 docs articles.
